Creating Linux shell users with sudo and SSH access
With Linux servers, both local and in "the Cloud" (aka a Virtual Private Server or VPS), access is generally remote via a command line interface. This tutorial covers the process of creating normal shell (command line) users who have the ability to perform administrative tasks (via the 'sudo' - Super User DO - mechanism), as well as configuring that user to be able to log in from their workstation via SecureShell (SSH) without needing to enter a password (i.e. using public-private key pairs).
To begin with, we need a Linux server to which we have administrative access. This can be direct access to a local Linux server on our own infrastructure, or a remote VPS for which we have the 'root' (administrative user) access, either via SSH (to a default root or unprivileged user created by the VPS provider) or via a browser-based console (which simulates sitting down at monitor/keyboard at the actual server itself).
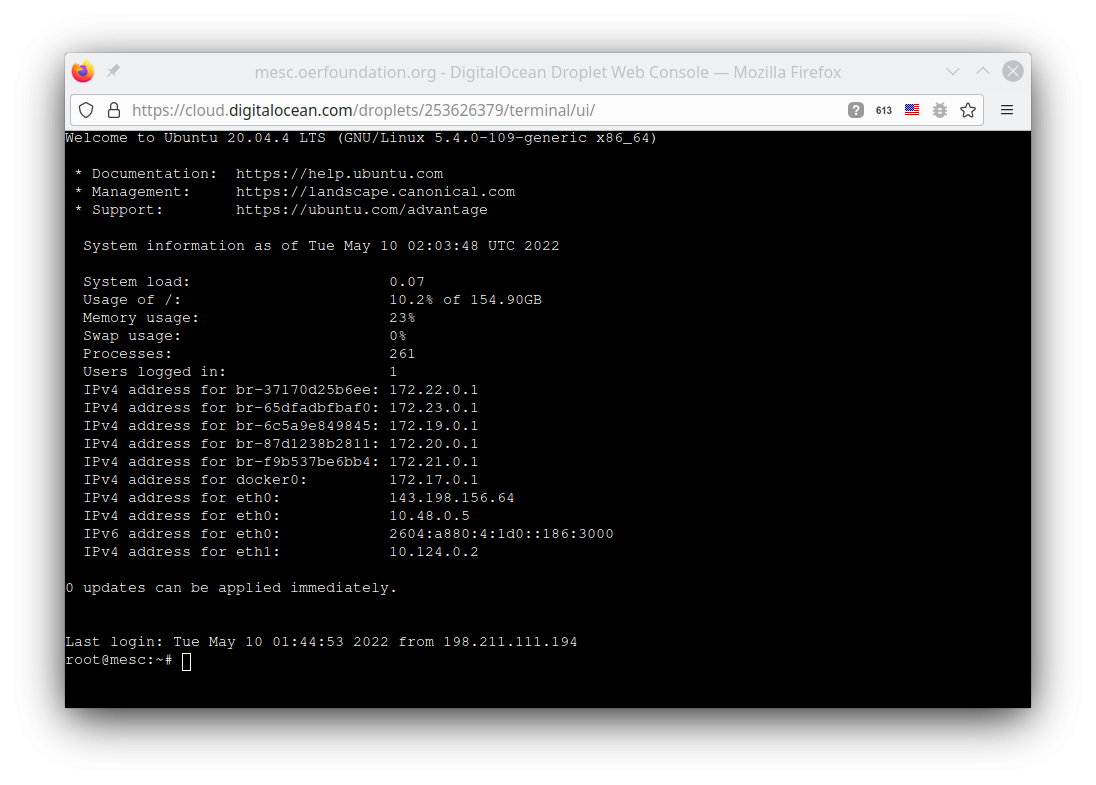
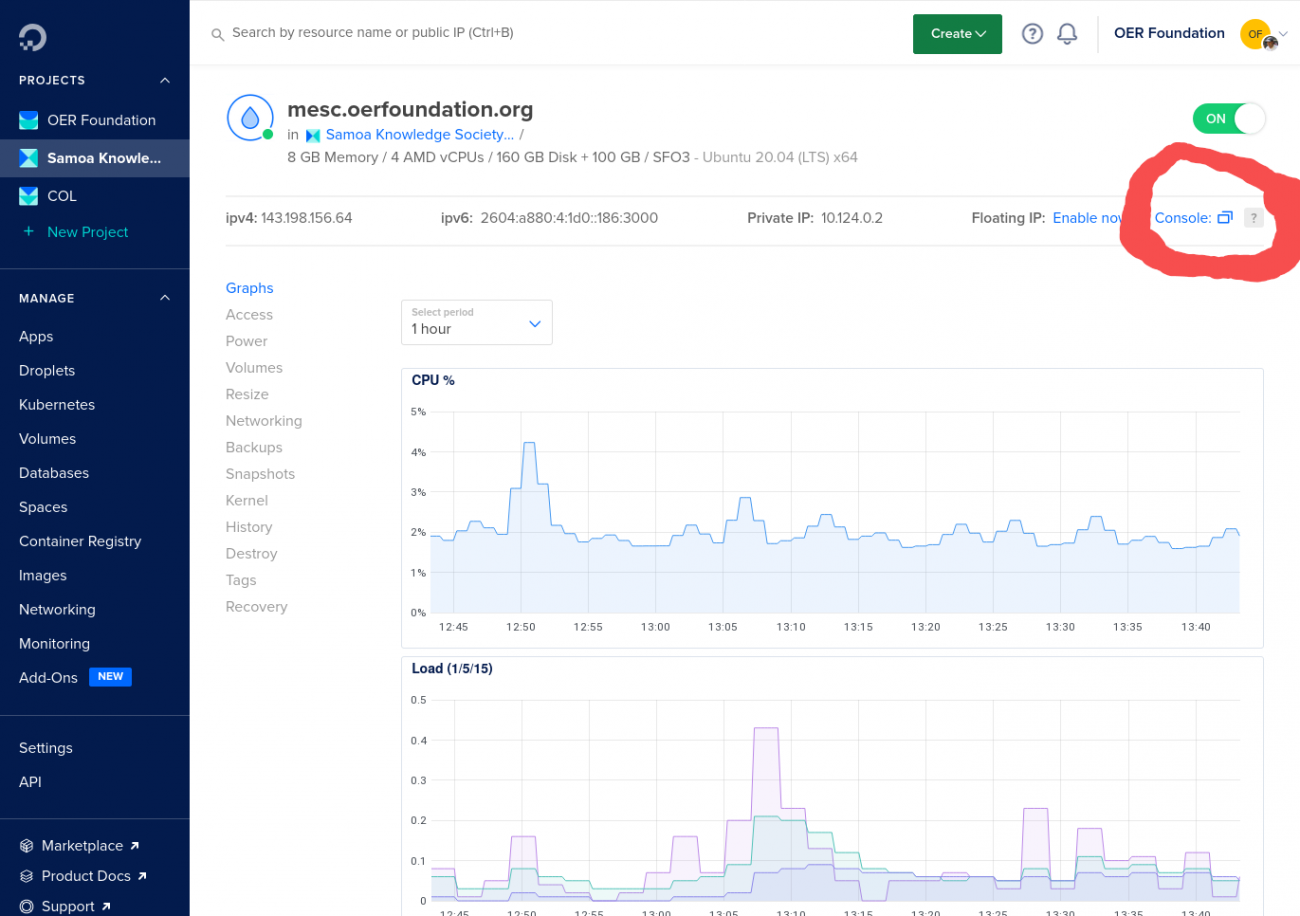
You'll log into your server either via your web browser (see attached images of the Digital Ocean VPS control page, with console link, and a browser-based console session, logged in as the 'root' user), or via SSH from your workstation. If you are on Linux or MacOS, you can use the in-built SSH client (you'll want to create an SSH key-pair for yourself first - on Linux, on a Mac, or on Windows. Note: I normally leave the 'passphrase' blank - it's slightly less secure especially if your SSH keys are on a computer you share with other people, but it's a lot more convenient, and a trade-off I'm willing to make!
You can address your server either by its IP address (either IPv4, e.g. 137.184.84.159, or if you're one of the rare far-sighted people with an IPv6 address, e.g. 2604:a880:4:1d0::4a2:c000, you can use that instead).
If you'd like to create your own VPS using a cloud infrastructure provider like Digital Ocean, and perhaps even configure a domain name to point to it (so you can use that domain to address your server rather than an IP address, see the first couple sections of this tutorial.
Logging in
Logging into your VPS will depend on whether you're using a console or logging in via SSH. If via a console, you'll just need to enter the username (possibly 'root') and password you set when creating the VPS. If via SSH, you'll run
ssh [your server IPv4 or IPv6]
followed by the ENTER key (that'll be true for any line of commands I provide). If your VPS is configured for passwordless logins, you shouldn't need a password. If not, you'll need the password you created when provisioning the VPS. Usually, it's either one or the other. If you're running Putty, you'll enter the same details into the Putty interface.
In most cases, if you've never logged into that VPS via SSH previously, you're likely to see a notification like this right after entering the command (with your VPS' hostname and IP address and its own ECDSA key fingerprint - it'll be unique to each server):
Type 'yes' and ENTER. You should only ever see this once for any IP or domain name you use to access this particular VPS.
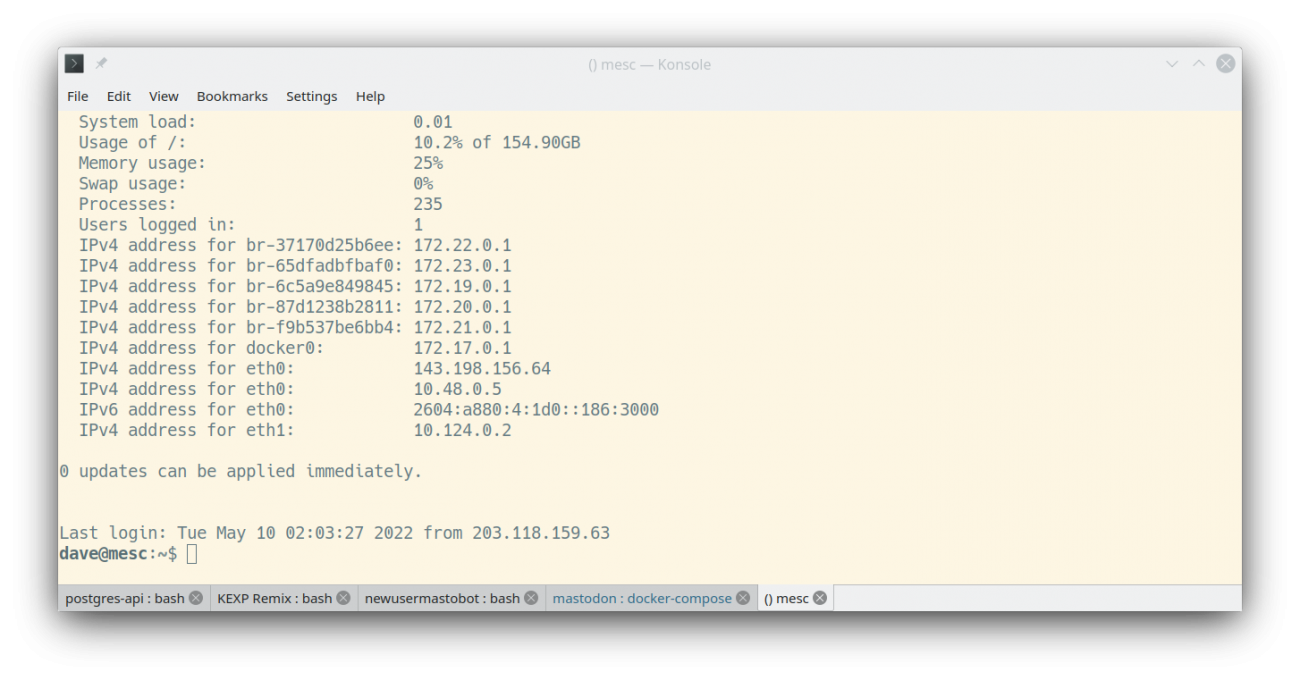
Once you're logged in, you'll see a command line prompt, probably somewhat similar to that of the attached screenshot. The name of the VPS you've logged into and your username will normally (by convention) be specified in your command prompt. In the attached screenshot, you can see my prompt is dave@mesc:~$. That means I'm logged in as user dave, the VPS's short-name is mesc (it's long name is mesc.oerfoundation.org which is too long to include in a prompt) and my current location is ~, the 'tilde' character which is short-hand on a UNIX shell for the user's 'home directory'. On a Linux VPS, it's likely to be in /home/[username] or /home/dave in my user's case.
Note, on a UNIX system, directories (aka folders) are delineated with a forward slash, /. Windows is the only system that uses a backslash \ to delineate directories.
The $ at the end of the prompt tells you you're an 'unprivileged user'. If you were logged in as an admin user, usually 'root', you'd see a # in your prompt to remind you that you've got unlimited power within the VPS, and to use it carefully!
If your prompt doesn't show your username, you can find out what user you're logged in as by typing
whoami
Creating a regular user
Let's say you're creating a user with the username of 'fiafia' - by convention, usernames on Linux systems are all lower case letters, without spaces or punctuation. Assuming your user has 'sudo' privileges, you can create the user like this (you will be asked to enter your user's password the first time you use sudo, and again after not using it for a while, usually 10 minutes):
sudo adduser fiafia
That will request that you enter additional information, like the user's full name, a phone number, and even an office room number (you can leave out any unnecessary information), and it will create a home directory for the user, /home/fiafia in this case.
It will also require you to set a password for the new user. If you're not sure how to generate a good random password, you can user our short tutorial. Should you want to change it you can set it like this - your user will need to know their password in order to run sudo commands:
sudo passwd $U
which will instruct you to enter a strong password twice (to guard against typos).
To give fiafia the ability to log in via SSH and to allow her to run administrative commands, her user needs to be added to several 'groups', members of which get additional privileges:
sudo adduser fiafia admin
sudo adduser fiafia sudo
Those groups, ssh, admin, and sudo will confer those abilities on your new user.
If you're working with VPS running a version of Ubuntu prior to 22.04 (like 20.04) or perhaps a Debian variant, you might also need to add the user to the 'ssh' group (it appears that with 22.04, Ubuntu have decided the ssh group was unnecessary and have removed it).
Just to be safe, if you run this on 22.04 too, it might fail to complete (saying something like "there's no 'ssh' group"), but that's not a problem.
sudo adduser fiafia ssh
If you wanted to create several users, you could avoid typing in each user's name so many times by instead setting a variable in the shell, say U, to the username and then reference the value of U, which you do by putting a '$' in front of it, like $U. So to create another new user, say 'masina', you could do the same thing like this, and copy and paste the following into your terminal window (If pasting via 'CTRL-V' doesn't work, try 'SHIFT+CTRL-V', similarly copy via 'SHIFT+CTRL-C'):
U=masina
sudo adduser $U
sudo adduser $U admin
sudo adduser $U sudo
(Note: to repeat these and the following commands for another user, just assign a new username to U, U=[newusername] and re-paste the same commands with $U.)
Because, by following this tutorial, your user is likely to log in without using their password, it makes sense to put it somewhere safe where they can find it. I usually do it this way (replace [password] with the same password you used for the previous command):
sudo echo "[password]" > /home/$U/.password
which, in this case, will put the password in a 'hidden' file (files or directories with names starting with a '.' are called hidden files or directories - they won't appear in a normal directory listing, e.g. ls or ls -l. If you want to see them, try ls -la where the 'a' means 'all') called .password in the user masina's home directory, /home/masina.
You will also want to make sure that your new user has permission to remove that file. The right way to do that is to transfer ownership of the file to that user:
sudo chown $U /home/$U/.password
Creating SSH keys on your VPS
Now we can create an SSH key pair for this new user on this VPS. Helpfully, in the process, the .ssh (hidden) directory for the file into which to put that user's workstation public SSH key to allow them passwordless logins from that workstation:
sudo su $U
That command allows your user to "become" the user $U and execute the following commands (the 'sudo' isn't needed here as that user is working in her/his own space with her/his own files):
ssh-keygen -t rsa -b 2048
This command uses the SSH keygen utility to create a 2048bit keypair: a public and a private key which provide the means for engaging in full encrypted (and extremely secure!) interactions with a remote server via the SSH protocol. You'll have to hit "ENTER" three times to complete the process (as I said above, I normally leave the passphrase blank).
Once that is done, you can create and edit a new file:
nano ~/.ssh/authorized_keys
In that file, you can copy and paste (without spaces on either end) that user's workstation's public ssh key (never publish a private key anywhere!), save and close the file (use CTRL-X).
The quickest way to do that on a Linux computer is by running the command (back on your workstation!):
cat ~/.ssh/id_rsa.pub
which will print the contents of your public key file below it, so you can easily highlight and copy & paste it (remember, a copy from a Linux terminal is SHIFT+CTRL+C).
When you're done pasting the public key into your authorized_keys file, save and exit the editor (CTRL-X) and type
exit
The exit will return you to your own user. You can use CTRL-D (slightly faster to type) to do the same thing.
From that point, that user should be able to SSH to the VPS via ssh [username]@[domain name] without needing to enter a password.
These instructions use 'sudo' in front of commands because I assume you're using a non-root user. The instructions will still work fine even if you're logged in as 'root'.
Add new comment