Installing Authentik for Authentication and Single-Sign-On

The OER Foundation offers many Free and Open Source Software services to our learners and educators to provide them with resources for learning, developing Open Educational Resources (OER), and collaborating - both professionally and socially - with one another. Due to this proliferation of 'point source' technologies, users have to create a myriad of user accounts, each requesting an email and password and perhaps a user name. For many, especially those who have not adopted a password keeper, this can be an onerous situation, and often results in very poor 'internet hygiene' due to people choosing simplistic passwords and using the same small set of passwords in many contexts.
An alternative to this default approach is for the OER Foundation to adopt an authentication and authorisation solution. Authentication means creating a single link between a real (physical) person and their online (virtual) identity - usually managed with a login and password and might also include one or more additional factors of identification, also known as 'Multi-Factor Authentication' or MFA. Authorisation involves allowing authenticated users access to systems to which they should have access, and not those to which they should not. An suitable authentication and authorisation system can then be used to implement a 'Single Sign-On' (SSO) system that provides the option to all those with credentials on it to access - subject to any authorisation limitations - any of the OER Foundation's services transparently without needing to create a new, separate account.
The Authentik project offers quite good documentation for Docker Compose installation, too. This tutorial should be seen as a complement to that, perhaps providing a bit more guidance.
Preparing a suitable server
All of our OER Foundation services share a common hosting platform. You'll need to create a replica of that platform - if you don't already have one - so you can add this service. Everything else in this post assumes you've followed those instructions!
Note, the Authentik developers suggest a minimum VPS specification of 2 CPU cores and 2 GB RAM, so a very small instance should suffice.
Ground work
To set up Authentik, you'll need a few key details specific to your instance. For the rest of this tutorial, we'll use the convention of representing those variables as a name inside [], for example, the domain name that identifies your instance, which is referred to by the token [domain name]. Note - you'll see a few other instances of [] in the content below - the ones with multiple ::: in them, e.g. [:::], are not tokens, they're the way IPv6
The tokens for which you'll need values are as follows:
- your instance [domain name], i.e. a fully qualified domain name or a sub domain by which people will reach your instance. In our case, for example, we use 'auth.fossdle.org', which is the 'auth' subdomain of the 'fossdle.org' fully qualified domain name.
- Authenticating SMTP (Simple Mail Transfer Protocol, i.e. the language for sending email) details - this is required so your services can send emails to users - crucial things like email address validation and password recovery emails...
- [smtp host] - the domain name or IPv4 or IPv6 address of an SMTP server
- [smtp port] - the port number on the server that is listening for your connection. By convention it's likely to be 465 or 587, or possibly 25.
- [smtp reply-to-email] - a monitored email to which people can send email related to this WordPress site, e.g. notifications@[domain name]
- [smtp username] - the username (often an email address) used to authenticate against your SMTP server, provided by your email provider.
- [smtp password] - the accompanying password, provided by your email provider.
- [smtp from email] - this is the email address from which the system emails will be sent - it's what recipients will see and the address to whom they'll be able to respond. You might want something like 'noreply@[domain name]'... or maybe (if you do accept responses) 'webmaster@[domain name]'.
- [postgresql password] - a strong random password, say 12-99 characters long, sticking with letters and numbers as some symbols might be mis-interpreted in the context of the configuration file in which it's stored (e.g. if it contains a '#', the rest of the password might be interpreted as a comment. Or if you enclosed it in "", if it includes a " as a symbol, it might be interpreted as prematurely closing your double quotes). To generate, see below.
- [authentik secret] - a random 'secret key' of 50 characters is recommended. Again, see below.
To generate (relatively) random passwords/keys, you can install the following:
sudo apt install -y pwgen
To generate, say, a 40 character [postgresql password], you could run
pwgen -s 40 1
and grab the output, e.g. 28RFCIFtnVM9tFOmT2zx2fKiK5sf42WGK8FHr9Bn
For a 50 character [authentik secret] just copy the output of
pwgen -s 50 1
Learn more about specifying random passwords via man pwgen or pwgen --help and look at our tutorial on creating good passwords.
Also, you'll need to edit files, so it's worth setting up a text editor. If you're new to Linux, I recommend using the 'nano' text editor which is installed by default on Ubuntu Linux systems. It's fairly simple, and all of its options are visible in the text-based interface. I tend to use a far more powerful but far less beginner-friendly editor called 'vim'. There're other editors people might choose, too. To use your preferred editor for the rest of the tutorial, enter the following to set an environment variable EDIT, specifying your preferred editor, e.g.:
or, if you're like me
so that subsequent references to $EDIT will invoke your preferred editor. Note the command $(which nano) is a script which finds the full path to the named command, in this case 'nano'. Putting a command inside the $() means 'replace with the value the script returns', so it sets the value of EDIT to the path of the nano command in this case. On my current machine, the value it returns is /usr/bin/nano, which is pretty typical.
To test (at any time) whether you session still knows your $EDIT command, run
echo $EDIT
if it returns the path to your preferred editor, you're good to go. If not, just reassert (run again) the EDIT= line from above!
Note: if you log out and back in again, change users, or create a new terminal tab/session, you'll need to reassert the EDIT value.
Configuring the reverse proxy
We need to configure a 'reverse proxy' so that external requests to our new Authentik service are routed to our containers, and so that all communication between our service's users and our service are suitably encrypted via Secure Sockets Layer (SSL).
You should already have Nginx and Let's Encrypt installed on your server, so all you need to do is set up a new configuration file. The convention I use would involve doing this:
sudo $EDIT /etc/nginx/sites-available/[domain name]
where you put your domain name as the filename as indicated. You can copy and paste the following into the configuration file, replacing tokens like [domain name] with your value:
Note that if your server has other services on it and, by coincidence, one is already using port 9443, then you can pick another port (e.g. 9444) and see if that works. If so, you'll need to make sure that you replace 9443 in the docker-compose.yml below, too.
Once you've saved the file, you can 'enable' it straight away. To do that, you need to do the following (again, replacing the tokens):
sudo ln -sf /etc/nginx/sites-available/[domain name] /etc/nginx/sites-enabled
which links the configuration file you've just created into the 'sites-enabled' directory. You can then test whether Nginx accepts the configuration you've added:
sudo nginx -t
If there're no errors here, you can make the changes live:
sudo service nginx reload
Getting your Let's Encrypt SSL certificate
You can now request an SSL certificate for your new domain (making use of the configuration set up the server tutorial), obviously replacing [domain name] with yours:
`sudo letsencrypt certonly --webroot -w /var/www/letsencrypt -d [domain name]
After you've got your certificate (which should only take a few seconds), you can go back into your proxy configuration (remember it's the same file as /etc/nginx/sites-enabled/[domain name]):
sudo $EDIT /etc/nginx/sites-available/[domain name]
and alter the certificates by changing just the following lines:
Then you just need to make sure there're no typos:
sudo nginx -t
and make the changes live:
sudo service nginx reload
Now external people will be able to securely access your Authentik once the service is running!
Docker Compose configuration
The next thing you need is a docker-compose.yml file. I usually put this in the a directory called /home/docker/[domain name] (replacing the token with your domain name!). You'll want to be in that directory:
cd /home/docker/[domain name]
Because the developers of Authentik periodically change the default configuration of their docker-compose.yml file, it's best to grab their current one from here:
wget https://goauthentik.io/docker-compose.yml
which should result in a file called docker-compose.yml appearing in that directory (run ls -l to confirm).
I'd make a backup of this file for future reference:
cp docker-compose.yml docker-compose.yml-default
You can then
$EDIT docker-compose.yml
and it should look similar to the one below, albeit probably with a different AUTHENTIK_TAG number - the version as of this writing is 2023.10.2 - and with different 'volumes' specified.
The only things you'll likely need to change are the designations for the 'volumes:'. See below where I've specified volumes in your /home/data/[domain name] directory rather than the local directory as the default docker-compose.yml defaults to.
One you've got that saved, there's just one thing left! You just need to set up your specific configuration file, which is held in a 'hidden' file, .env in /home/docker/[domain name].
This is what you should put in it, replacing [tokens]. Note that you can comment out any line you want by putting a '#' at the start of the line.
Note that if you set the AUTHENTIK_TAG below and uncomment the line (remove the #) you won't (normally) need to update the docker-compose.yml file to apply updates to Authentik in future.
Once that's done and saved, you can start your Authentik service!
docker-compose up -d && docker-compose logs -f
This will trigger Docker to download the container images specified in your docker-compose.yml (based on AUTHENTIK_TAG), and start them up. That, in turn, will cause Docker Compose to create the directories specified in your volumes: stanzas in your docker-compose.yml file in /home/data/[domain name], including creating your PostgreSQL database.
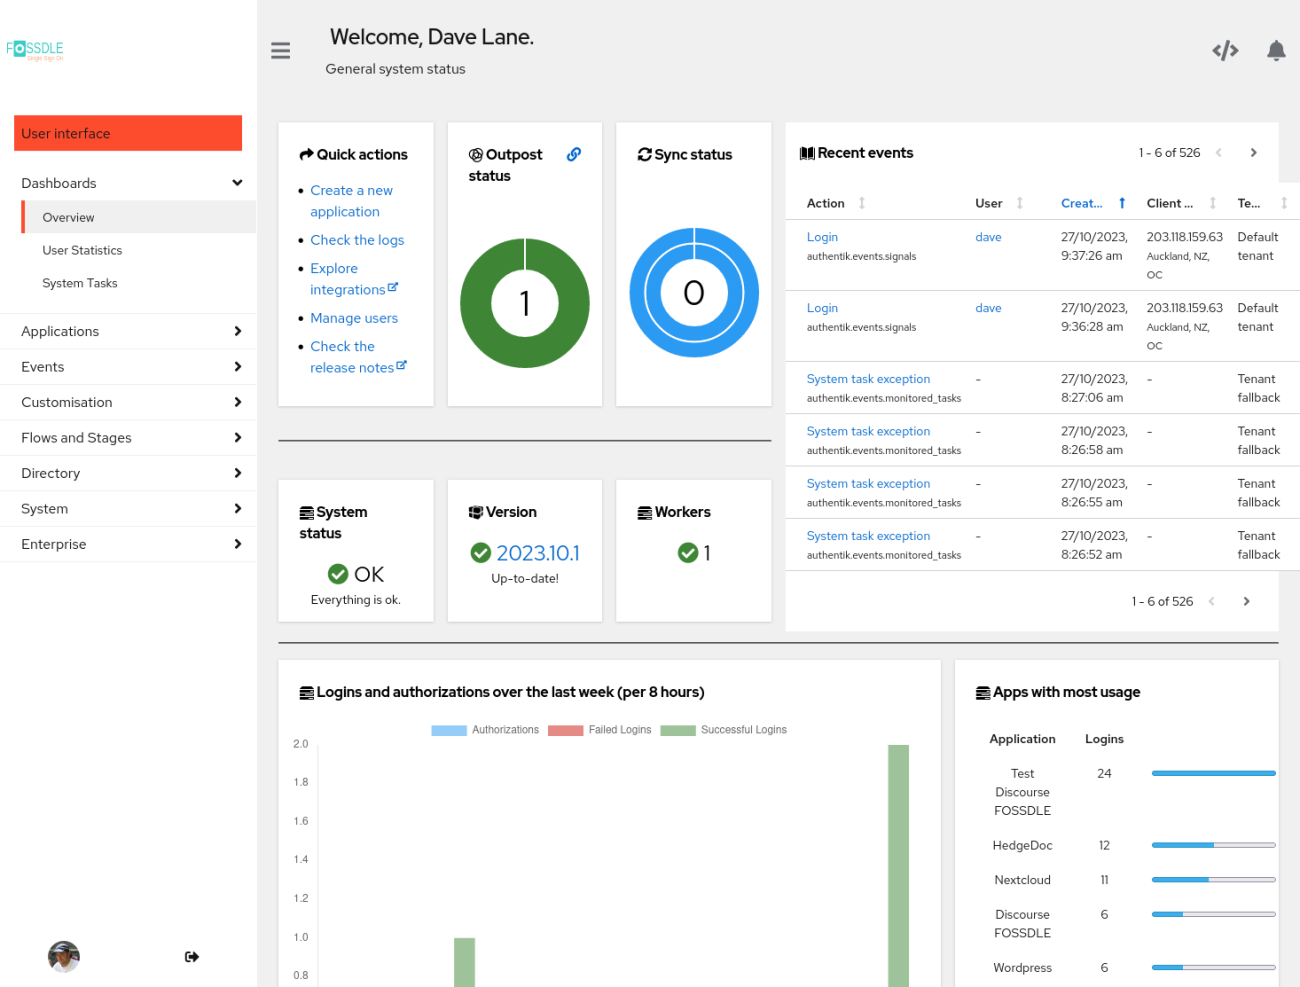
Boom: Setting up your Authentik instance
Once that is up and running, you should be able to point your browser at
https://[domain name]/if/flow/initial-setup/
Here's more documentation to help you from here. Also, cooptonian's YouTube Channel is most helpful!
Upgrading your Authentik
Periodically, you'll see in the admin interface (or via an email to the site's administrators) that your Authenitik can be upgraded to a newer version.
Before doing anything to upgrade, I encourage you to make a copy of both your key files:
DATE=$(date +%d-%m-%Y) cp docker-compose.yml docker-compose.yml-$DATE cp .env .env-$DATE`
because having them handy might save your bacon if, for example, you need to revert back to your old configuration.
Sometimes the Authentik developers change the configuration of their default docker-compose.yml file. You'll want to verify that your version is the same except for any changes to volumes: you've made as follows:
Download the current reference version as docker-compose.yml-default (so it doesn't overwrite your docker-compose.yml):
wget -O docker-compose.yml-default https://goauthentik.io/version/2023.10/docker-compose.yml
Then, you'll want to run
diff docker-compose.yml-default docker-compose.yml
to see how the new file differs. If it differs in areas other than volumes: and the value for AUTHENTIK_TAG, you'll want to apply those changes to your docker-compose.yml via
$EDIT docker-compose.yml
Also, because upgrades might well result in a change to your PostgreSQL database's schema, you'll want a full backup of the existing database!
Once you have that, you can run
docker-compose pull && docker-compose up -d && docker-compose logs -f
to pull the new containers, run them, and watch the logs of the upgrade as it progresses and, hopefully, completes successfully.
Backing up your Authentik data
At the OER Foundation, we recognise that our Authentik is pretty mission-critical. To protect our users' data integrity and privacy, we do nightly encrypted incremental file backups and hourly PostgreSQL database backups. For the former, we use a Restic remote server script we've written (which requires that you have either sufficient local storage, or (preferably) another server you can access via SSH which has sufficient disk space to hold versioned backups), and the latter, we use a backup script we've developed.
Add new comment