Install Rocket.Chat on Ubuntu 20.04 via Docker Compose
This post is a companion to our video tutorial on installing Rocket.Chat 4.x on an Ubuntu 20.04 server via Docker Compose.
We start with a Docker Compose-configured server. You can also see our video tutorials on how to create one: complete, or starting from a DigitalOcean 'snapshot'.
From that starting point, we can install Rocket.Chat - which, incidentally, is a full-featured messaging service, similar to more heavily marketed Slack, Discord, or Microsoft Teams, but free and open source, and self-hostable (other free and open source options include Mattermost and Element/Matrix among others, by Rocket.Chat is the OERF's preference). You can also purchase it as Software-as-a-Service. It's also great for all sorts of integrations. There many ways you can interact with Rocket.Chat. It can be accessed via any modern web browser, and there are dedicated desktop applications for Linux, Microsoft Windows, and Apple MacOS, as well as mobile applications for Apple iOS and Android devices.
To complete this tutorial, you will need a fully qualified [domain name] (or subdomain) pointing to your server, a [port] number for your service - 8080 or 7080 are good options so long as they're not already in use by other services on the same server, and a set of authenticating SMTP credentials so you can configure your Rocket.Chat to send email (by default, Rocket.Chat uses TOTP (Time-based One-Time Password) sent via email for extra security).
Nginx reverse proxy
The first step is to set up the Nginx reverse proxy configuration to allow. You should create a file in /etc/nginx/sites-available with your [domain name] like this:
sudo nano /etc/nginx/sites-available/[domain name]
and fill it with this (replacing [domain name] and [port] appropriately:
Save and close that file. We now need to create the 'dhparam.pem' if it doesn't exist create it like this:
sudo openssl dhparam -out /etc/ssl/certs/dhparam.pem 2048
After doing that, you can test Nginx's configuration:
sudo nginx -t
If you don't get any errors or warnings, you can activate the new configuration:
sudo service nginx reload
You server should now successfully respond to your [domain name], but it'll redirect to HTTPS using the default (self-signed) certificates that are valid as far as Nginx is concerned, but your browser won't let you access the page due to those inappropriate certificates. You can test it by putting http://[domain name] into your browser and seeing if it redirects you to https://[domain name] and a 'bad certificate` (or similar) page.
To fix that, we can now generate a Let's Encrypt certificate which will be valid.
sudo letsencrypt certonly --webroot -w /var/www/letsencrypt -d [domain name]
Since this is your first time running the letsencrypt script, you'll be asked for a contact email (so the Let's Encrypt system can warn you if your certificates are going to be expiring soon!) - you will need to provide an admin email for this. You can also opt in to allowing them to get anonymous statistics from your site (I do).
Once you've done that, the Let's Encrypt system will verify that you (the person requesting the certificate) also controls the server that's requesting it (using the details specified in the /etc/nginx/includes/letsencrypt.conf file, along with data that the letsencrypt script writes into a special file in the /var/www/letsencrypt directory) and, all going well, you'll see a "Congratulations!" message telling you that you have new certificates for your [domain name].
Then you can re-edit your Nginx confguration file:
sudo nano /etc/nginx/sites-available/[domain name]
and comment out the default certificates and uncomment the [Domain]-specific certificates, like this (we'll assume you've already got your [domain name] substituted!):
Once you've got that going, you again check to make sure your Nginx config is valid:
sudo nginx -t
and apply your configuration changes:
sudo service nginx reload
If you now go to http://[domain name] in your browser, you should be redirected to https://[domain name] and you shouldn't get any certificate errors, although you might get a "502" error because the service that reverse proxy configuration is trying to send you to doesn't yet exist! That's what we're expecting.
Rocket.Chat containers via Docker Compose
Next, we have to create the Rocket.Chat container recipe for Docker Compose. Create a Docker directory if it doesn't yet exist and a [domain name]-specific directory:
sudo mkdir -p /home/docker/[domain name]
and go there
cd home/docker/[domain name]
and create a file:
nano docker-compose.yml
putting this into it, replacing [domain name], [port], and the authenticating SMTP details: [smtp username], [smtp password], [smtp servername], and [smtp port]. Note the comment in the file as well if you're not sure about smtp:// or the [smtp port] to use.
This configuration specifies MongoDB version 4.2, which is the recommended version to use for Rocket.Chat right now. And the current version of Rocket.Chat at the time of this writing is 4.5.0.
Save and close that file. You can then start the Docker containers by invoking Docker Compose
docker-compose up -d && docker-compose logs -f
This command will 'pull' any missing reference containers from hub.docker.com (the default central place where many Docker containers are stored by their developers) and launch them in "daemon mode" (the '-d' flag achieves that) on your server, so that they'll keep running until you stop them. After it's done with the launching, Docker Compose will display the logging data being put out by both the MongoDB and Rocket.Chat containers.
You can issue a CTRL-C to cancel out of the logs view - it won't affect the running Rocket.Chat instance.
You can also stop Rocket.Chat by issuing:
docker-compose stop
and verify it status (running or not) via
docker-compose ps
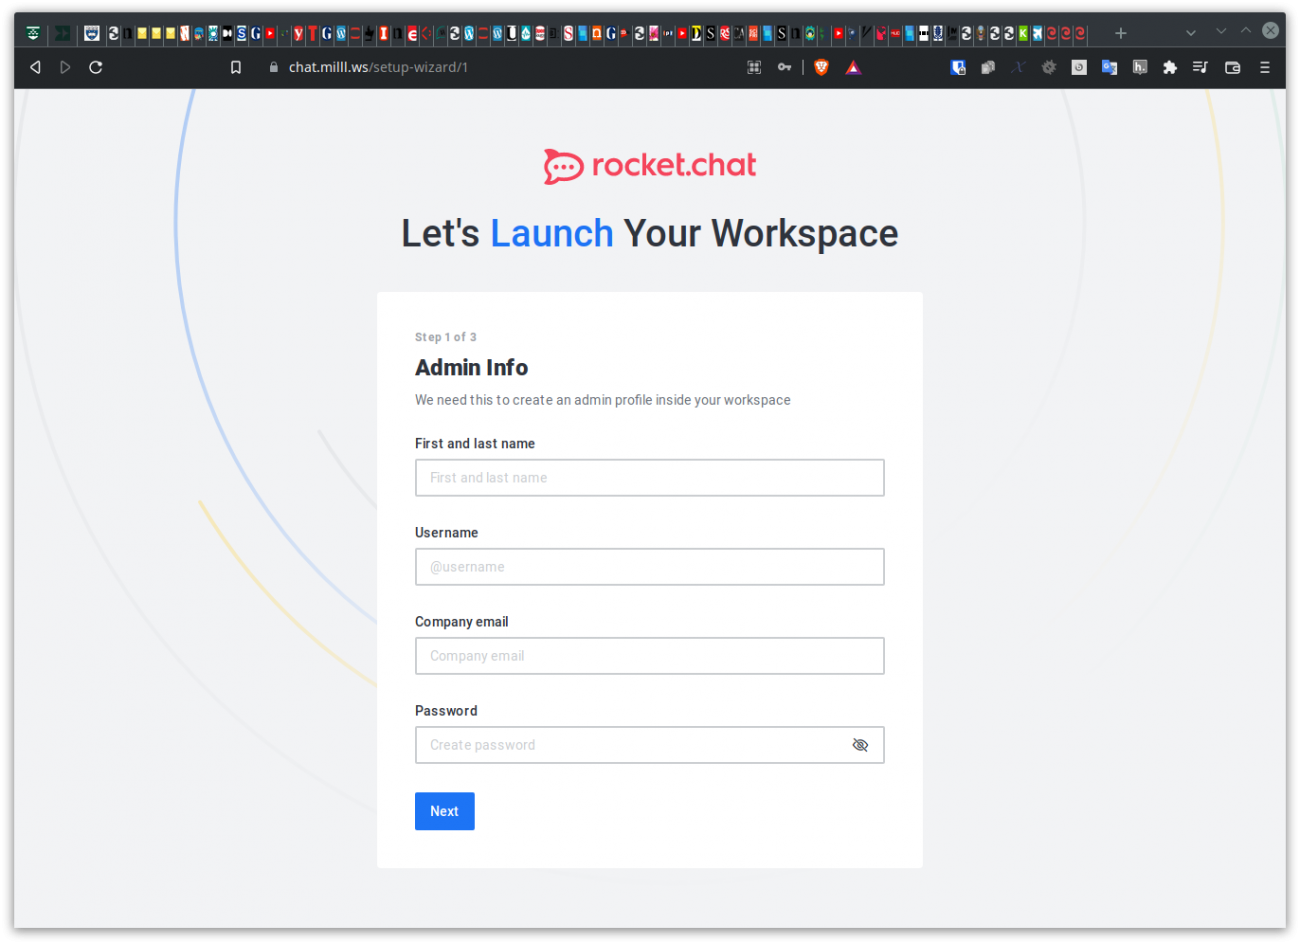
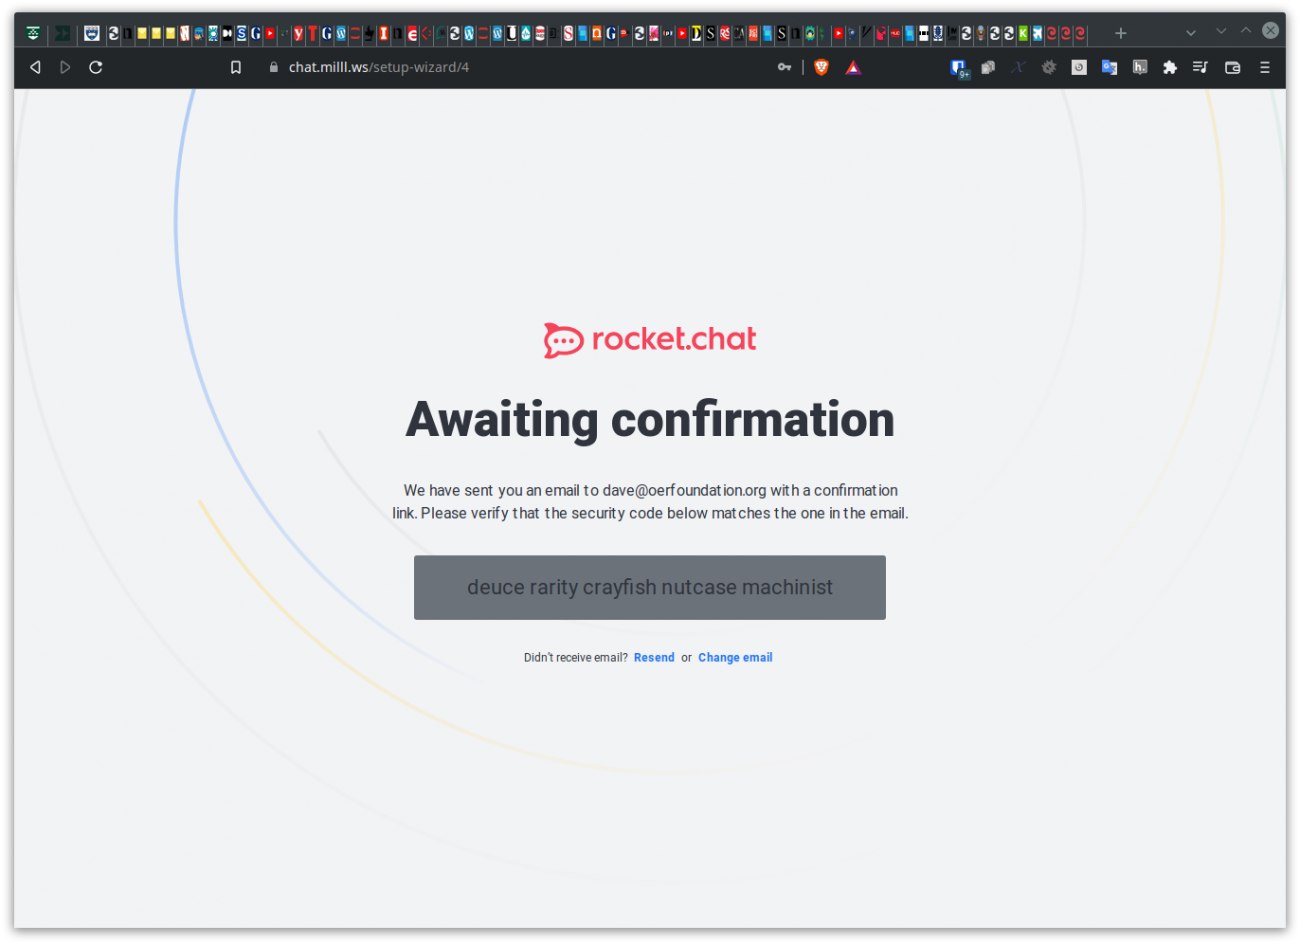
If you then go https://[domain name] in your browser, you should get the 'initial user' start up page as shown in the attached screenshot. After filling in your content and content related to your instance, you should receive an email from both your Rocket.Chat instance and from the Rocket.Chat developers showing your instance is registered.
You can then log in (by default, you will have to wait for an email with a TOTP code to log in) you will be able to change the multitude of settings, behaviours, and integrations that Rocket.Chat supports. See its user documentation for more information on configuring and managing your Rocket.Chat instance. Note, there are many other sources for information on Rocket.Chat configuration - search engines will help you.
Backing up your data
To back up your Rocket.Chat installation, you will need to store both the content of your MongoDB and any files or other content uploaded.
Backing up the uploaded content involves regular file backups of the uploaded files and the docker-compose.yml configuration. Preferably, these should be stored off the original server, i.e.
We have developed a script for backing up Docker-based MongoDB installations. You can install it as follows. First, we'll make a place to put the backup script:
sudo mkdir /home/data/scripts && sudo cd /home/data/scripts
and then clone (i.e. download) our git repository:
sudo git clone https://git.oeru.org/oeru/mongobackup.git
which will create a directory /home/data/scripts/mongobackup - go into it
sudo cd /home/data/scripts/mongobackup
and create a backup configuration (substituting your domain name!) and edit the file:
sudo cp default-mongo.conf-sample default-mongo.conf
sudo nano default-mongo.conf
The content should look like this:
The values you set should look like this (replace [domain name] appropriate) - you can leave the original '#' comments in place if you want:
save and close that file and then we have to create the location for the backups to be stored (and, ideally, transferred to the remote backup location along with the uploaded files and docker-compose.yml file):
sudo mkdir -p /home/backup/mongodb
Note, that the email alerts depend on you having configured your server properly to send out email as per our instructions for setting up a Docker Compose server.
You can test to make sure this all works by running
sudo /home/data/scripts/mongobackup/dbbackup-mongo --hourly
You should see a bunch of file paths as things are backed up - if you see nothing, you may have an error in your configuration.
To verify a backup has been made, you can run
ls -l /home/backup/mongodb/
and you should see a series of files (probably 3), named after each 'database' in the mongo server, with the name 'mongo-hourly' in them followed by the server's current date and time and a .tgz suffix.
If it works, copy the 'cron' task to your /etc/cron.d directory:
sudo cp dbbackup-mongo-cron /etc/cron.d/
after which, you should get hourly (and daily, weekly, monthly, and yearly) backups that tidy up after themselves...
Upgrading your installation
From time to time, assuming you've registered your Rocket.Chat installation, you will receive notifications that a new version of Rocket.Chat is available. You can upgrade at your convenience by creating a dated copy of your docker-compose.yml file - you can use this convenient little command (assuming you're in /home/docker/[domain name]):
sudo cp docker-compose.yml docker-compose.yml-$(date +"%Y%m%d")
and make sure you disable your instance
sudo docker-compose stop rocketchat
and then run a mongodb backup - the easiest way to do that is to run
sudo /home/data/scripts/mongobackup/dbbackup-mongo --hourly
as described above. Also, assuming the data involved is relatively small compared to your available storage space, you can copy your current mongo data to make sure you can recover quickly if necessary (after stopping mongodb!):
sudo docker-compose stop mongo
sudo cp -a /home/data/[domain name]/mongodb/data /home/data/[domain name]/mongodb/data-$(date +"%Y%m%d")
Then, to do the upgrade: edit docker-compose.yml to update the Rocket.Chat (4.5.0 in this tutorial) container number to the new version.
sudo nano docker-compose yml
at which point you can run:
sudo docker-compose up -d && sudo docker-compose logs -f
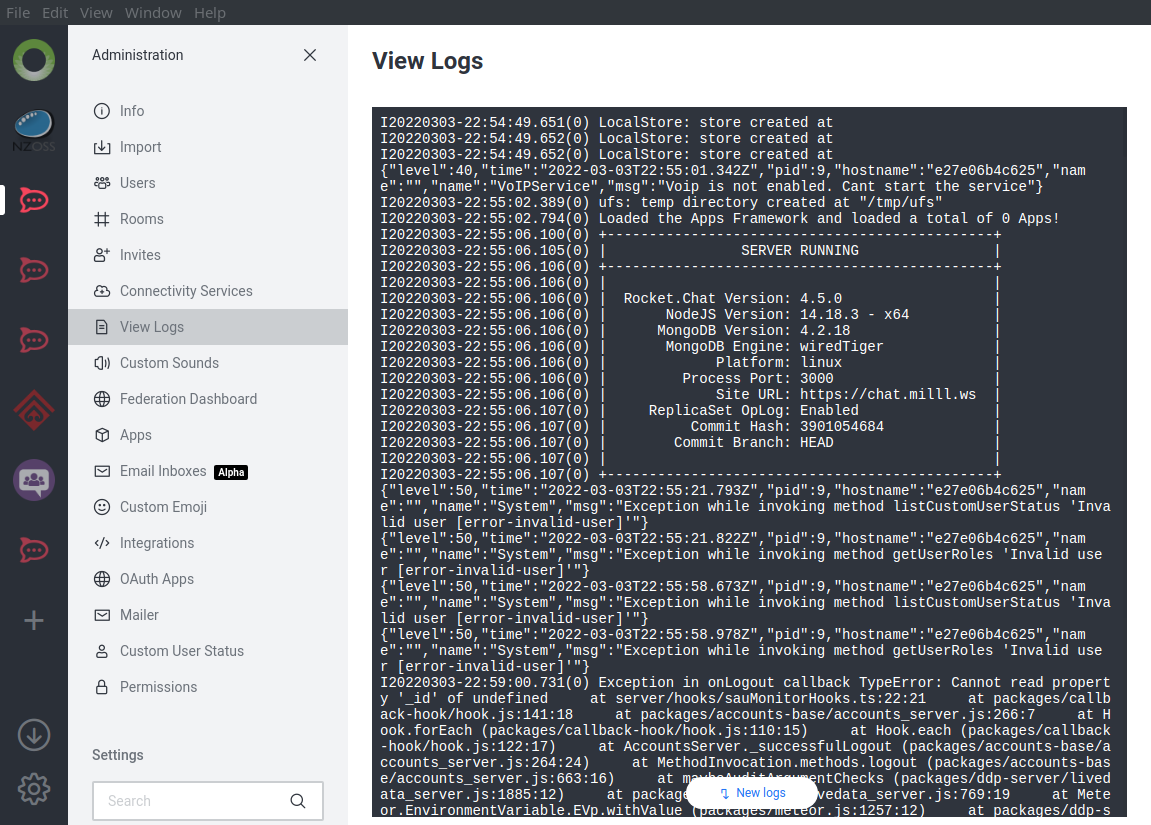
which will pull the newer Rocket.Chat container, and run it, along with MongoDB, which will automatically upgrade your instance if possible (if it succeeds, you'll see a message similar to the attached log image showing the Rocket.Chat version info in the log messages), and you'll be up and running with a new version, job done!
Enjoy your free (in both senses of the word) world-class messaging platform!
Add new comment